1917: Flanders
Battle of Messines (1917)
- Dates:
- 7–14 June 1917
- Front:
- Western Front
- Location:
- The Messines–Wytschaete ridge south of Ypres, from St. Yves by Ploegsteert Wood to Mount Sorrel, and its eastern slopes as far as the Oosttaverne line, West Flanders (Belgium)On the battle map →
- Sides:
- United Kingdom, Australia and New ZealandDouglas Haig, Herbert Plumer, Alexander Godley, Alexander Hamilton-Gordon, Thomas MorlandGerman EmpireRupprecht, Crown Prince of Bavaria, Friedrich Sixt von Armin, Maximilian von Laffert
- Result:
- British victory. In a single day the Second Army took the whole Messines–Wytschaete ridge and the Oosttaverne line, and the Germans withdrew to the Warneton line. The British regained the heights from which the enemy had watched the Ypres salient since the autumn of 1914.
- Author:
- Łukasz Skowroń
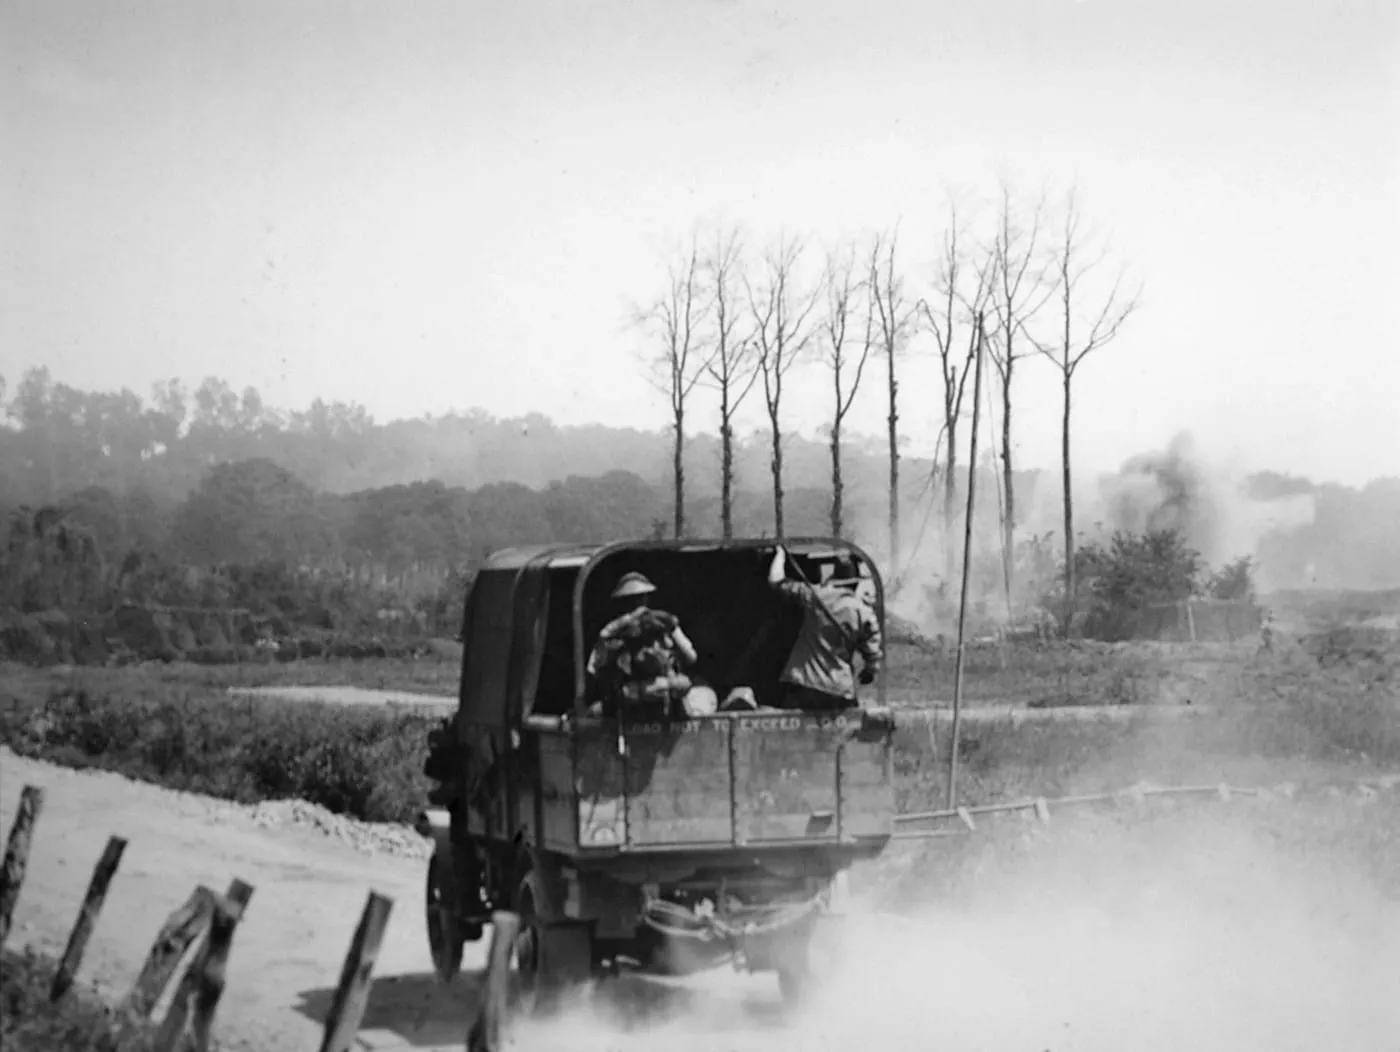
The Battle of Messines was one of the most carefully prepared and most successful attacks made by the British Army in the whole war. At 3.10 a.m. on 7 June 1917, beneath the German positions on the ridge between Messines and Wytschaete (PL), south of Ypres, 19 great mines exploded within a few seconds of one another, dug by sappers over a year and a half of underground work. Immediately afterwards nine divisions of General Herbert Plumer’s Second Army, among them Australians, New Zealanders and Irishmen from both the north and the south of the island, went forward to the assault behind the fire of more than two thousand guns. Before noon the whole ridge was in British hands, and by evening so was the Oosttaverne line at its eastern foot. In the following days the Germans tried to counter-attack, and on the night of 10/11 June they withdrew further east. The battle was the prelude to the great offensive at Ypres that the British opened at the end of July.
Name and dates
The name “Battle of Messines” and the dates 7–14 June 1917 were fixed after the war by the British Battles Nomenclature Committee. We keep to them on this page: 7 June was the day of the mines and the main attack, and 14 June the last attack by the Second Army, which closed the operation. The British and Australian official histories, however, count losses from 1 June, because heavy artillery fighting went on throughout the week before the assault, while the German returns cover the period from 21 May.
This battle should not be confused with the fighting for the Messines ridge in the autumn of 1914, in which the Germans took the same heights. In English-language literature it is also sometimes called the Battle of Messines Ridge.
Background
On 1 November 1914, towards the end of the First Battle of Ypres, the Germans took the Messines–Wytschaete ridge. This low rise stands only a few dozen metres above the Flanders plain (Wytschaete, the highest point, lies according to Haig about 80 metres above sea level), but for two and a half years German observers on its slopes looked into the British trenches and rear areas south of Ypres. The ridge was also the southern wing of the arc of hills surrounding the town. Anyone who wanted to attack eastwards from Ypres first had to take it.
Plumer, who had commanded the Second Army since 1915, regarded the capture of the ridge as the most important objective on his sector and had already begun preparing it underground at that time. In 1916 the plan was put off because of the Battle of the Somme. The British commander-in-chief, Field Marshal Douglas Haig, saw it merely as the prelude to a larger design: an offensive from the Ypres salient to the east and north-east, which was to drive the Germans from the Belgian coast and their submarine bases. The Admiralty, alarmed by shipping losses, strongly supported him in this.
In the spring of 1917 the whole Allied plan rested on the Nivelle Offensive. When it collapsed and mutinies broke out in the French Army, the burden of fighting on the Western Front passed to the British. At a conference in Paris on 4 May it was agreed that the British would deliver the main blow of the summer, and on 7 May at Doullens Haig told his army commanders that in a month he would attack the Messines ridge, bringing the Battle of Arras to an end. He entrusted the great offensive from Ypres to General Hubert Gough and his Fifth Army, leaving the attack on the ridge to Plumer. The original plan of Plumer and his chief of staff, General Charles Harington, envisaged taking the ridge over several days. It was Haig who demanded that the whole ridge be taken on the first day, and that on the same day the troops should then go down the eastern slopes and capture as many German guns as possible.
War underground
In January 1916 the British command approved a plan for a deep mining offensive drawn up by the Engineer-in-Chief of the British Expeditionary Force, General George Fowke. The shallow galleries in which since 1915 the sappers of both sides had fought beneath the trenches of Hill 60 and St. Eloi were to distract the Germans. The real galleries were driven deeper, at 20–40 metres, in the layer of blue clay beneath the waterlogged sands. They were dug by tunnelling companies of the Royal Engineers: British ones (among them the 171st, 175th and 250th), two Canadian (the 1st and 3rd) and the 1st Australian Tunnelling Company, with geologists advising on the course of the galleries, among them the Australian professor Edgeworth David. In his dispatch Haig wrote that some 8,000 yards (more than 7 kilometres) of galleries had been dug in all, and that more than a million pounds, or about 450 tonnes, of ammonal and guncotton had been placed in the chambers.
The Germans knew that the British were digging and carried out extensive counter-mining of their own. In August 1916 one of their camouflets destroyed the gallery to an already charged mine under La Petite Douve Farm, and in the winter of 1917 another blast cut off the gallery to the great mine under Spanbroekmolen for three months. The sappers regained it only in the last days before the attack. The longest struggle was at Hill 60, where two great mines under the summit and under the neighbouring spoil heap known as the Caterpillar had been laid by the Canadians and, from November 1916, guarded by the Australians. According to Haig, an unbroken struggle underground went on there for more than ten months, and at the moment of the attack a German gallery was already close to the British one. The German officer in charge of mining, Lieutenant-Colonel Füßlein, reported as late as the end of April that a great mine attack was “no longer possible”, and although in May he began to suspect otherwise, the command drew no conclusions from it.
Haig wrote in his dispatch of 24 prepared mines. Four of them, under the German strongpoint called the Birdcage near Le Pelerin at the southern end, lay outside the sector of attack, one (La Petite Douve) was lost, and 19 were fired on 7 June. Other tallies give slightly different figures, depending on whether chambers in a single gallery and mines abandoned before the battle are counted separately. The largest charges lay under St. Eloi (about 43 tonnes of ammonal, 42 metres underground), under Maedelstede Farm (about 43 tonnes) and under Spanbroekmolen (about 41 tonnes). The unused charges remained in the ground. In the summer of 1955 one of the mines at Le Pelerin was set off by lightning during a thunderstorm, killing a cow, and the mine under La Petite Douve still lies beneath the farm buildings.
Preparations
For the attack Plumer was given three corps, each with three divisions in the front line and one in reserve. In the south, General Alexander Godley’s II ANZAC Corps had General John Monash’s 3rd Australian Division, the New Zealand Division, which was to take Messines, and the British 25th Division, with the 4th Australian Division in reserve. In the centre, General Alexander Hamilton-Gordon’s IX Corps led the 36th (Ulster), 16th (Irish) and 19th Divisions against Wytschaete, with the 11th Division in reserve. In the north, General Thomas Morland’s X Corps attacked with the 41st, 47th (London) and 23rd Divisions, with the 24th Division in reserve. Behind them XIV Corps stood in GHQ reserve. The attack was supported by 72 new Mark IV tanks and about 300 aircraft of the Royal Flying Corps, which gave the British superiority in the air.
There was more artillery than ever before on so short a front: according to the British official history about 2,300 guns and howitzers, more than 750 of them heavy, with a stock of more than 140,000 tonnes of ammunition. The preliminary fire lasted from May, and from 31 May it turned into a seven-day bombardment in which heavy howitzers demolished fortifications and villages, the last two days being given over almost entirely to counter-battery work against the German guns. Twice, on 3 and 5 June, the artillery fired a practice barrage along the whole front to force the German guns to reveal their positions. According to the Australian official history, the Germans lost half their heavy howitzers in the Messines salient during this time, and in the sector of one division only 7 heavy and 12 field guns were still fit to fire on 7 June.
The plan laid down the stages in detail. The infantry was to climb the ridge in two bounds, behind a creeping barrage whose depth, together with machine-gun fire, reached about 700 metres, and dig in on a line called the Black Line. After a pause of several hours fresh troops were to go down the eastern slopes and take the German chord line at the base of the salient, called the Oosttaverne line by the British (the Germans called it the Sehnenstellung). The divisions rehearsed the attack on large scale models of the ground.
On the German side, the ridge was defended, within General Friedrich Sixt von Armin’s Fourth Army, by Group “Wytschaete”, that is, the headquarters of General Maximilian von Laffert’s Saxon XIX Corps, with five divisions in the line and two counter-attack divisions (Eingreifdivisionen) behind the ridge. In April the chief of staff of Rupprecht of Bavaria’s army group, General Hermann von Kuhl, proposed abandoning the projecting salient and withdrawing to the chord line or further, but the corps and division commanders objected. They believed that the ridge could be held and that the British mine war had been mastered. The Germans expected an attack, and a British soldier captured at the end of May even gave them the date of 7 June. They simply did not know what lay beneath their trenches.
Course of the fighting
7 June. During the night the German artillery drenched Ploegsteert Wood, through which the 3rd Australian Division was moving up, with gas shells and put about 500 of its men out of action. Even so, all the divisions reached their jumping-off positions in time. At 3.10, at first light, the sappers fired the mines, which according to the official timing went off over about 19 seconds, from Hill 60 in the north to St. Yves in the south. At the same moment the whole artillery opened fire. About 80,000 men went forward against the ridge. The stunned defenders in the zone of the explosions offered hardly any resistance, and in the smoke and dust the British passed through the first German position within a few dozen minutes. The New Zealanders broke into fortified Messines and by about 7 a.m. had taken the little town together with the German commandant and his staff, sheltering in concrete dugouts beneath the Institution Royale building. The Ulstermen and the southern Irish, attacking side by side for the first time, cleared Wytschaete before noon. Near Wytschaete Major Willie Redmond, an Irish Nationalist MP, was mortally wounded. In the north the Londoners of the 47th Division took the strongpoint at the White Château but failed to capture the great spoil heap by the Ypres–Comines canal.
After the ridge was taken there followed the planned pause. Plumer put back the time of the second attack from 1.10 p.m. to 3.10 p.m. to allow time to bring up the artillery and reserves. Meanwhile the counter-attack divisions set off to the rescue from the Gheluvelt and Warneton areas, but, new to the district and shelled on the march, they arrived too late, and an attempted attack from the area east of Messines was broken up by artillery. After 3.10 p.m. the Australians of the 4th Division and the British 11th, 19th and 24th Divisions went down the eastern slopes. Oosttaverne village was taken at 3.45 p.m., and by evening almost the whole of the Oosttaverne line. At the junction of the Australians and the 11th Division, however, in the valley of the Blauwepoortbeek stream, the Germans held on to a stretch of the line. In the evening a British barrage called down to repel a German counter-attack fell on the Australian 12th Brigade, which had dug in further forward than planned, and some of the Australians fell back to the ridge. By 4.30 p.m. more than 5,000 prisoners had reached the British collecting points.
8–10 June. The next days were spent consolidating the gains and fighting for the gaps in the new line. On the morning of 8 June the Australians regained most of the abandoned stretch of the Oosttaverne line. In the evening the Germans counter-attacked along almost the whole new front but were repulsed. The same evening at the Blauwepoortbeek both sides took movements of their own troops for an enemy attack, and for two hours the artillery of both sides pounded the same patch of ground, causing heavy losses. The German artillery, placed beyond the flanks of the attack, especially south of the river Leie (Lys), caused more casualties in these days than the infantry. On 9 June the New Zealand Division and both Irish divisions were withdrawn from the line. On 10 June Rupprecht of Bavaria decided to pull his troops back from what remained of the Oosttaverne line to a line running from Klein Zillebeke through Houthem to Bas-Warneton and Deûlémont.
11–14 June. On the night of 10/11 June the Germans withdrew unnoticed, leaving only patrols. In the morning the Australians occupied the abandoned Blauwepoortbeek valley, and over the following days they pushed posts forward towards Gapaard Farm and the Warneton line. On 12 June it turned out that the Germans had also abandoned their front line between St. Yves and the Lys, where there had been no attack. On the evening of 14 June the Second Army attacked south and east of Messines and on both sides of the Ypres–Comines canal. It at last took the fortifications on the spoil heap by the canal and advanced the front along its whole length from the Warnave stream to Klein Zillebeke. According to Haig, the line was thus pushed forward “as far as was then desirable”.
Casualties
According to the British official history (James Edmonds), the Second Army lost 24,562 killed, wounded and missing between 1 and 12 June, more than half of them in II ANZAC Corps (12,391). The Australian official history (Charles Bean) estimates British losses for the whole battle at about 26,000. The New Zealand Division lost the most, almost 5,000 men.
German losses are disputed. According to figures from the German military archives quoted by Bean and Edmonds, the Fourth Army lost 21,886 men between 21 May and 10 June, including 7,548 missing, and the German medical statistics give 26,087 casualties for 7–14 June. Edmonds believed that the lightly wounded should be added to these figures, which other historians dispute. Haig reported in his dispatch that 7,200 prisoners, 67 guns, 94 trench mortars and 294 machine guns had been taken. The often repeated figure of 10,000 Germans killed by the mines alone finds no confirmation: it derives from the German number of missing, and the historian of underground warfare Simon Jones estimates that the explosions killed a few hundred men at most.
For gallantry in this battle the Victoria Cross was awarded to, among others, two Australians, Private John Carroll and Captain Robert Grieve, and a New Zealander, Lance Corporal Samuel Frickleton.
Significance
Messines was the first great British attack since the start of the war in which the plan was carried out almost exactly to schedule and with losses smaller than expected. Many factors contributed to this: the mines, which destroyed the first line of defence, the enormous superiority in artillery and effective counter-battery fire, command of the air and the meticulous preparation of the infantry. The German official history admitted that the Messines salient had been lost “with terrible losses”, and Kuhl called the battle “one of the worst tragedies of the war”. According to some accounts, Laffert lost his command soon after the battle. For the Australians, who a few weeks earlier had been through the failed attacks at Bullecourt, it was, as Bean wrote, an encouraging lesson in what a well-prepared staff could achieve.
The victory had its limits, however. The British did not capture most of the German guns, which stood behind the Oosttaverne line, and the positions on the eastern slopes proved costly to hold. Haig wanted to exploit the success at once and strike at the Gheluvelt plateau east of Ypres, but Plumer needed three days to move his artillery, and Gough, to whom Haig handed this task, preferred to include it in the main offensive. Preparations for that took more than seven weeks. The Germans, who after Messines had no more doubt where the British would strike, used the time to strengthen their defences. The Third Battle of Ypres, known as the Battle of Passchendaele, began on 31 July 1917 and in rain and mud turned into one of the bloodiest battles of the war. Many historians believe that the brilliant result at Messines raised hopes that the method of limited attacks could not fulfil in entirely different conditions.
The mine craters can still be seen in the area today. The water-filled crater at Spanbroekmolen was named the Pool of Peace, and since 1998 the Island of Ireland Peace Park has stood on the ridge near Messines, commemorating the soldiers from all of Ireland who fought here together in June 1917.
Spotted a mistake?Report an error